The crochet leggy frog has quickly become one of the most popular amigurumi projects among crochet lovers. Its long, dangling legs and adorable facial expression make it a favorite for beginners and experts alike. What’s even better is that many crafters can find a crochet leggy frog pattern free online, allowing them to create this cute frog without spending a cent. Whether you’re making one as a gift, decoration, or simply to practice your crochet skills, this playful frog pattern brings both creativity and joy to your crafting time.
What Is a Crochet Leggy Frog?
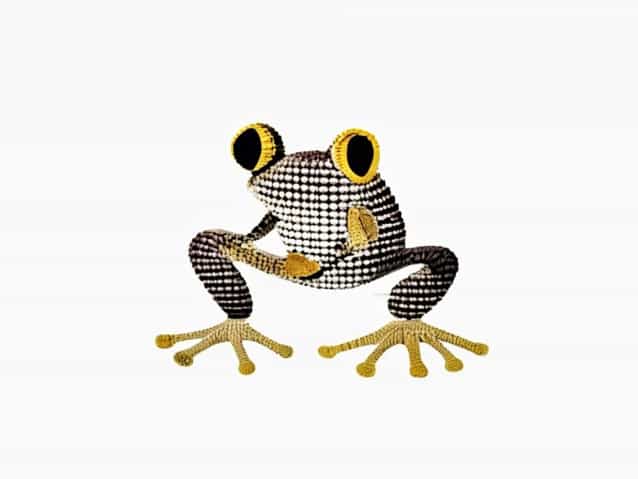
A crochet leggy frog is a soft toy made using the amigurumi technique – the Japanese art of crocheting small stuffed animals or creatures. The term leggy refers to its charmingly long legs, which give it a whimsical, relaxed look. The frog is typically small-bodied, with long limbs that can dangle from shelves or hang from your hand. It’s often made with simple stitches, making it beginner-friendly yet visually impressive.
Most free crochet leggy frog patterns use basic materials that you might already have in your crochet kit, such as yarn, a hook, stuffing, and safety eyes. The end result is a delightful little creature that can be customized in endless ways – from bright green to pastel shades or even multicolored versions for a unique touch.
Materials Needed for a Crochet Leggy Frog
Before you begin your crochet leggy frog project, gather the following basic materials. These are usually listed in any free pattern and can be adjusted based on the size or style you want to achieve
- YarnMedium-weight (cotton or acrylic) yarn in green, white, or any color of your choice.
- Crochet hookUsually between 2.5 mm and 3.5 mm, depending on your yarn thickness.
- StuffingPolyester fiberfill or cotton to fill the body and head.
- Safety eyes or embroidery threadFor the eyes and facial details.
- Yarn needleFor sewing parts together.
- ScissorsTo cut yarn cleanly.
- Stitch markerTo keep track of your rounds.
Most crochet leggy frog pattern free guides are flexible, meaning you can substitute materials easily. For instance, if you don’t have safety eyes, you can embroider eyes using black thread. Or, if you prefer a textured look, you can use variegated yarn for a colorful frog.
Basic Stitches Used in the Pattern
Even though the frog looks adorable and intricate, it usually uses just a few basic crochet stitches. Here are the main stitches you’ll need to know
- Magic ringTo start the head or body without leaving a hole.
- Single crochet (sc)The most common stitch for amigurumi projects.
- Increase (inc)Two single crochets in one stitch to make the shape wider.
- Decrease (dec)Crochet two stitches together to narrow the piece.
- Slip stitch (sl st)Used to join or finish rounds smoothly.
- Chain (ch)To create the frog’s long legs or to connect body parts.
Once you’re comfortable with these stitches, you can easily follow a crochet leggy frog pattern free from any source. The repetition of these simple techniques makes the project relaxing and enjoyable.
Step-by-Step Overview of the Pattern
1. Making the Head
The head of the frog usually starts with a magic ring and several rounds of single crochet increases to form a sphere. Many patterns suggest using green yarn for the head and leaving a small opening for stuffing. You can add safety eyes between rounds 5 and 6 or embroider them later for a softer look.
2. Crocheting the Body
The body is generally made in the same way as the head, though it may be slightly smaller. Some patterns prefer connecting the head and body directly, while others make them separately and sew them together afterward. Be sure to stuff the body firmly so your frog keeps its shape.
3. Creating the Legs
The most distinctive feature of the leggy frog is its long, thin legs. These are made using chains and rows of single crochet stitches. You can adjust the length depending on how leggy you want your frog to be. Typically, the legs are not stuffed, which allows them to hang freely and move naturally.
4. Adding the Arms
The arms are made similarly to the legs but shorter. They are attached to the sides of the body and can be bent slightly to give your frog a playful look.
5. Final Assembly
Once all parts are made, use a yarn needle to sew them together securely. Attach the legs at the bottom, the arms at the sides, and ensure everything is evenly placed. Add small details such as a smile, rosy cheeks, or even a little bow tie if you want to personalize your frog.
Creative Variations for the Crochet Leggy Frog
One of the best things about using a crochet leggy frog pattern free is that you can experiment without fear of wasting materials or money. Here are some fun ways to customize your frog
- Different colorsTry bright pink, blue, or yellow frogs for a cheerful twist.
- AccessoriesCrochet a tiny hat, scarf, or flower to give your frog character.
- Different sizesUse thicker yarn and a larger hook for a big frog, or thinner yarn for a pocket-sized version.
- Poseable frogsInsert wire in the limbs before sewing to make the legs bendable.
These small variations make your frog unique and add a personal touch to your crochet projects.
Why Crafters Love the Crochet Leggy Frog Pattern
There are several reasons why this pattern has become so beloved among crochet enthusiasts. First, it’s quick and easy to make. Even beginners can finish one frog in just a few hours. Second, it’s highly customizable, allowing each crafter to express their creativity. Third, it makes an excellent handmade gift for children, friends, or anyone who appreciates cute and quirky crafts.
Another big reason is that many crochet leggy frog pattern free options are available online, making it accessible to everyone. You don’t need to buy expensive patterns or kits. Instead, you can follow simple instructions and videos shared by generous crafters around the world.
Tips for Crocheting a Perfect Leggy Frog
Even though the pattern is beginner-friendly, a few small tips can help your project look even better
- Use tight stitchesSince amigurumi pieces are stuffed, tight stitches prevent the filling from showing through.
- Count your rounds carefullyIt’s easy to lose track, so use a stitch marker or write notes.
- Stuff lightlyThe frog should feel soft and flexible, especially in the body and head.
- Match yarn and hook sizeUsing the right combination ensures a neat, even texture.
Following these small steps will make your frog look neat, well-shaped, and adorable from every angle.
Using Your Crochet Leggy Frog
Once your frog is finished, there are many creative ways to use or display it. You can hang it from your car mirror, let it dangle from a bookshelf, or place it on a child’s bed. Some people even use crochet frogs as keychains or backpack accessories. If you’re into photography, these frogs make great props for playful and colorful photo sessions.
They also make perfect handmade gifts. Because they are lightweight and durable, they can easily be mailed to friends or sold at craft fairs. Their charm lies in their simplicity and the personal touch that comes with being handmade.
Making a crochet leggy frog using a free pattern is a fun, rewarding, and creative project that suits crafters of all levels. The pattern’s simplicity, combined with endless customization options, makes it one of the most popular crochet designs in recent years. With just a few basic materials, some yarn, and a little patience, you can create a delightful frog that brings smiles wherever it goes. So, pick up your hook, find a crochet leggy frog pattern free online, and start stitching your very own long-legged friend today.