Noticing your tire slowly losing air pressure can be frustrating, especially when there are no visible signs of damage. However, one of the most effective and inexpensive methods to identify a tire puncture or air leak is by using soapy water. This method is commonly used by mechanics, DIYers, and even tire professionals due to its simplicity and reliability. By combining water with a little dish soap, you can create a solution that reveals leaks through bubbling action when applied to the tire surface. This technique can help detect even the smallest pinhole or valve leak before it turns into a serious issue.
Why Soapy Water Works for Detecting Tire Leaks
Understanding the Principle
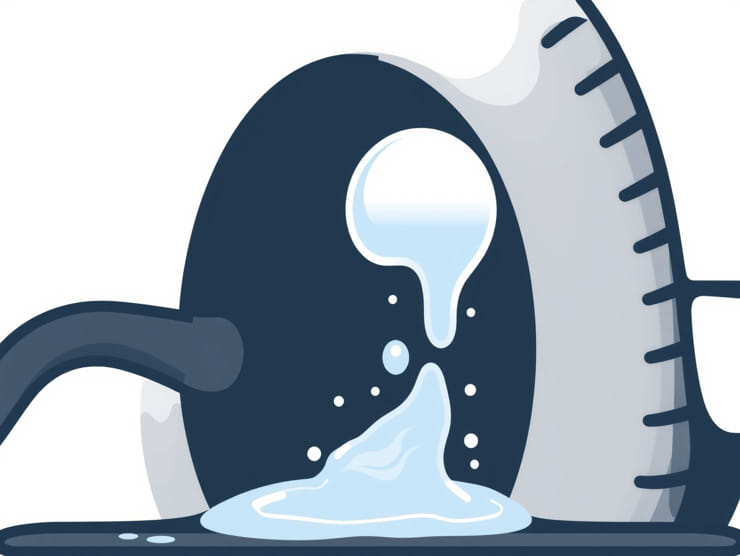
The science behind this method is straightforward. When air escapes from a leaking spot on your tire, it creates a stream of bubbles in the presence of soapy water. The soap lowers the surface tension of the water, allowing bubbles to form more easily. This visual cue makes it easier to locate the exact source of the leak, even in areas that are difficult to inspect visually.
Advantages of the Soapy Water Method
- Cost-effective: Uses materials readily available in most households.
- Non-invasive: No need to remove the tire from the vehicle.
- Accurate: Capable of identifying small leaks that are otherwise hard to spot.
- Safe: Does not involve any chemicals that could damage the tire.
Preparing the Soapy Water Solution
Ingredients You Will Need
- Clean water (preferably warm)
- Dish soap or liquid detergent
- Spray bottle or sponge/brush
- Air pump (optional, to inflate the tire)
Mixing Instructions
To prepare your solution, mix one part liquid dish soap with three parts water. You can adjust the ratio depending on the soap’s thickness. Pour the mixture into a spray bottle for easier application or use a sponge or brush to apply it directly to the tire surface.
Step-by-Step Guide to Finding a Tire Leak
Step 1: Inflate the Tire
Before applying the solution, ensure the tire is inflated to the recommended PSI. A fully inflated tire will produce more noticeable bubbles at the site of the leak, making it easier to detect.
Step 2: Apply Soapy Water to the Entire Tire
Thoroughly spray or apply the soapy water over the entire surface of the tire, including the sidewalls, tread, and especially around the valve stem and rim bead. Make sure you cover all potential areas where leaks are likely to occur.
Step 3: Observe for Bubbles
Carefully watch for areas where bubbles form and grow. These are signs of escaping air. Larger leaks may produce a steady stream of bubbles, while smaller ones might show up as slow or intermittent bubbling.
Step 4: Inspect Valve Stem and Rim
Leaks commonly occur around the valve stem or the bead where the tire meets the rim. Spray extra solution around these areas. If bubbles appear at the valve stem, it may be loose or cracked. If bubbles show at the bead, reseating the tire may be necessary.
Step 5: Mark the Leak Spot
Once you’ve located the source of the leak, mark it with a piece of chalk or masking tape. This will help you remember the exact location when you take steps to repair it.
Common Areas Where Tire Leaks Occur
- Tread punctures: Nails, glass, or sharp objects often penetrate the tread area.
- Valve stem damage: Can wear out or become brittle over time.
- Bead leaks: Occur where the tire seals against the rim, especially if there’s corrosion.
- Sidewall damage: Less common but more serious and often irreparable.
What to Do After Locating the Leak
Temporary Repairs
If you’re dealing with a small tread puncture and need a quick fix, you can use a tire plug kit or patch as a temporary solution. These are available at most auto parts stores. However, they are not recommended for long-term use, especially if the damage is near the sidewall.
Permanent Solutions
- Professional Patch: Take the tire to a certified repair shop where it can be removed and properly patched from the inside.
- Valve Stem Replacement: If the leak is coming from the valve stem, it may need to be replaced entirely.
- Tire Replacement: If the damage is on the sidewall or the puncture is too large, replacing the tire might be the safest option.
Precautions When Using the Soapy Water Method
Ensure Proper Safety
When performing this test, make sure your vehicle is parked on a level surface with the parking brake engaged. Use gloves to protect your hands from sharp objects embedded in the tire.
Avoid Using Harsh Chemicals
Stick with gentle dish soap for the solution. Avoid using strong detergents, solvents, or cleaners that could damage the rubber or cause degradation over time.
Do Not Delay Repairs
Identifying a leak is only the first step. Driving on a leaking or under-inflated tire can lead to poor fuel economy, reduced handling, and eventually a blowout. Always repair or replace the tire promptly once a leak is found.
When to Seek Professional Help
Complex or Multiple Leaks
If you find more than one leak or cannot determine the exact source, it’s best to let a tire professional perform a thorough inspection. Some leaks may be internal or require dismounting the tire to diagnose accurately.
Recurring Leaks
Sometimes a leak may reappear after a repair. This could indicate structural damage or a defect that requires expert assessment. Persistent air loss, even after patching, should never be ignored.
Finding a tire leak with soapy water is a quick and effective method that anyone can do with a few household supplies. By observing where the bubbles form, you can pinpoint air leaks and take appropriate action to prevent further damage or unsafe driving conditions. Whether it’s a small puncture in the tread or a worn-out valve stem, early detection through this method can save you time, money, and potential accidents. Always follow up with proper repairs or professional service to ensure your vehicle stays safe on the road.