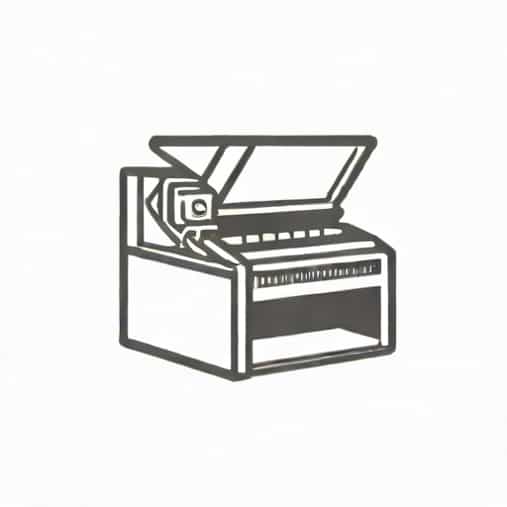
Scanning documents directly to email has become an essential function for many offices and businesses. Konica Minolta multifunction printers make this process efficient and straightforward, allowing users to send scanned documents without the need for a computer. Understanding how to scan to email on a Konica Minolta device can save time, improve workflow, and reduce the need for printing and physically distributing documents. This process involves setting up email settings on the machine, understanding the scanning interface, and knowing the correct steps to ensure your scanned files reach the intended recipients securely and accurately.
Understanding Scan to Email on Konica Minolta
Scan to email is a feature available on most Konica Minolta multifunction printers and copiers that allows a document to be scanned and sent as an attachment directly to an email address. This feature is highly convenient for sending contracts, invoices, reports, and other important documents quickly. It eliminates the need to first scan documents to a computer and then manually attach them to an email. The process is designed to be user-friendly, but it requires proper configuration of the printer’s email settings and network connection.
Setting Up Email on Konica Minolta
Before scanning to email, it is essential to set up the email settings on the Konica Minolta printer. The setup involves entering details such as the SMTP server, email address, and authentication credentials. These settings allow the printer to communicate with the email server and send documents successfully.
Steps to Configure Email Settings
- Access the printer’s control panel and select theAdministrator Settings.
- Navigate to theNetwork Settingsand find theEmail Settingsoption.
- Enter the SMTP server address provided by your email provider.
- Input the email address that will appear as the sender of the scanned documents.
- If required, enter authentication details such as username and password.
- Set the default email domain if the printer allows this option for faster input.
- Save the settings and test by sending a test email to ensure configuration is correct.
Preparing to Scan a Document
Once the email settings are configured, it is important to prepare the document for scanning. Proper preparation ensures the scanned file is clear and readable. Make sure the document is free of folds, staples, or any obstructions that may interfere with the scanning process. Decide whether you want to use the automatic document feeder (ADF) or the flatbed scanner, depending on the size and type of the document.
Selecting Scan Settings
Konica Minolta devices allow customization of scan settings before sending to email. Users can choose the following options
- Scan resolution Higher resolutions produce clearer images but result in larger file sizes.
- File format Common options include PDF, JPEG, and TIFF. PDF is often preferred for documents containing multiple pages.
- Color mode Choose between color, grayscale, or black and white depending on the content of the document.
- Compression settings Adjusting compression can help reduce file size for faster email transmission.
Scanning and Sending the Document
After preparing the document and selecting scan settings, the next step is to scan and send it to an email address. This process is straightforward once you are familiar with the device’s control panel.
Step-by-Step Process
- Place the document on the scanner glass or in the automatic document feeder.
- On the control panel, selectScanand then chooseScan to EmailorEmailfrom the available options.
- Enter the recipient’s email address. Many Konica Minolta devices allow you to select contacts from a stored address book to save time.
- Adjust any necessary scan settings, such as resolution, color, and file format.
- PressStartto scan the document.
- The scanned file will be attached to an email and sent automatically through the configured SMTP server.
Managing Scanned Documents
After sending documents, it is important to manage scanned files properly. Some Konica Minolta devices allow storing copies of scanned emails for record-keeping. It is also a good practice to check with the recipient to confirm that the document was received correctly. Proper file management ensures that scanned documents can be retrieved later if necessary and helps maintain organization in digital filing systems.
Troubleshooting Common Issues
Despite its convenience, scanning to email may encounter occasional issues. Here are some common problems and solutions
- Email not sendingCheck SMTP server settings, authentication details, and network connection.
- File size too largeReduce scan resolution or change compression settings to ensure the email server can handle the attachment.
- Recipient not receiving emailVerify the email address for typos and ensure the recipient’s email server is not blocking incoming messages.
- Multiple pages not scanning correctlyEnsure the automatic document feeder is clean and the pages are properly aligned.
Benefits of Scan to Email
Using scan to email on Konica Minolta devices provides several benefits. It saves time by eliminating the need to scan to a computer first. It reduces paper usage and storage requirements, contributing to a more environmentally friendly office. Additionally, it improves workflow efficiency, as documents can be shared instantly with colleagues, clients, or partners. The ability to store email contacts and frequently used settings also streamlines the process for regular scanning tasks.
Best Practices for Efficient Use
- Keep the printer firmware updated to ensure compatibility with email servers and security protocols.
- Regularly clean the scanner glass and ADF to prevent image quality issues.
- Organize recipient addresses in the address book to reduce typing errors and save time.
- Verify network connectivity before scanning to prevent failed email transmissions.
Scanning to email on a Konica Minolta printer is a convenient and efficient way to send documents quickly and securely. By configuring email settings correctly, preparing documents properly, and understanding the scanning interface, users can take full advantage of this feature. Regular practice, proper maintenance, and attention to detail ensure reliable performance and help maintain smooth office operations. Mastering scan to email not only saves time but also enhances productivity and ensures important documents reach their destination promptly.