Pumpkin carving has long been a cherished tradition during Halloween, combining creativity, artistry, and the festive spirit into one enjoyable activity. Among the many designs that enthusiasts love to carve, The Nightmare Before Christmas themed pumpkins have become a popular choice. Inspired by Tim Burton’s iconic film, these pumpkin carvings allow fans to bring characters like Jack Skellington, Sally, and Oogie Boogie to life on their Halloween decorations. The unique blend of spooky and whimsical elements in the movie makes it perfect for pumpkin carving, providing both beginners and experienced carvers with opportunities to create visually striking and memorable displays. This topic explores tips, techniques, and ideas for successfully carving Nightmare Before Christmas pumpkins while maintaining safety and artistic detail.
Why Choose Nightmare Before Christmas for Pumpkin Carving
The Nightmare Before Christmas offers an extensive range of characters and motifs that translate beautifully into pumpkin art. The film’s gothic yet playful aesthetic, combined with memorable faces and expressive designs, allows carvers to explore a variety of styles from simple silhouettes to intricate detailed carvings. This makes it appealing for Halloween enthusiasts who want to stand out and show off their love for the movie.
Popular Characters to Carve
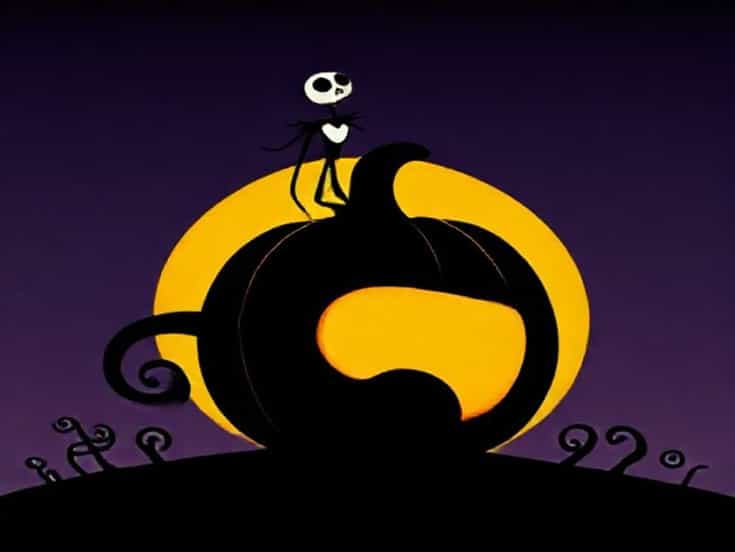
- Jack Skellington the Pumpkin King, known for his iconic grin and skeletal features
- Sally with stitched detailing for a slightly eerie, yet delicate appearance
- Oogie Boogie featuring a bold, textured look that can be enhanced with layers
- Zero the ghost dog, simple and whimsical for beginners
- Halloween Town Silhouettes combining houses, bats, and moon motifs for background designs
Essential Tools for Pumpkin Carving
Creating detailed Nightmare Before Christmas pumpkin designs requires the right tools. While standard kitchen knives can work for basic carvings, specialized tools enhance precision and safety, allowing carvers to execute intricate patterns inspired by the movie.
Recommended Tools
- Pumpkin carving kit with serrated saws and detail knives
- Clay or linoleum carving tools for fine details
- Pumpkin scoop and scraper for hollowing and thinning walls
- Drill or awl for small holes and patterns
- Stencils and templates featuring characters and motifs from the film
Step-by-Step Pumpkin Carving Process
Following a structured approach can make Nightmare Before Christmas pumpkin carving more manageable and enjoyable. The process typically involves preparation, transferring designs, carving, and finishing touches.
Preparation
- Choose a firm pumpkin with a smooth surface for detailed designs
- Wash and dry the pumpkin to remove dirt and ensure better tool control
- Cut a lid at the top or bottom depending on your preferred candle placement
- Scoop out seeds and pulp thoroughly, scraping walls to an even thickness
Transferring the Design
Using a stencil is highly recommended for detailed Nightmare Before Christmas patterns. Print or draw your design, tape it onto the pumpkin, and use a pin or poking tool to mark outlines. This ensures accuracy and reduces the risk of mistakes during carving.
Carving Techniques
- Start with larger sections first to create the basic shape
- Move to smaller details like Jack Skellington’s eyes or Oogie Boogie’s stitched features
- Use scraping techniques to create depth and shading for more dynamic visuals
- Maintain steady hands and take breaks to avoid fatigue
Lighting and Display Tips
Proper lighting enhances the effect of Nightmare Before Christmas pumpkin carvings. Traditional candles, LED tea lights, or small battery-operated lights can be placed inside the pumpkin to illuminate the design. For added effect, consider colored lights to match the eerie or whimsical tone of the film.
Display Ideas
- Place carved pumpkins on porches or windowsills for maximum visibility
- Combine multiple pumpkins to recreate scenes from Halloween Town
- Use black or dark backdrops to emphasize glowing carved features
- Pair with themed decorations like mini skulls, bats, or faux spider webs
Tips for Beginners
For first-time pumpkin carvers, starting with simpler designs from Nightmare Before Christmas, such as Zero or Jack Skellington’s face, can build confidence before attempting more intricate patterns. Thicker pumpkin walls are easier to carve and less likely to break, and taking your time ensures clean, detailed results.
Beginner-Friendly Techniques
- Use shallow cuts to outline the design before deeper carving
- Start with the eyes and mouth, leaving detailed features for last
- Consider using a pumpkin carving pen for sketching details
- Practice on smaller pumpkins before attempting larger, more complex designs
Advanced Carving Techniques
Experienced carvers can experiment with multi-layered carvings, where some areas are fully cut out while others are thinned to allow light to shine through partially. This adds dimension and creates a three-dimensional effect, perfect for replicating Tim Burton’s intricate character designs.
Advanced Tips
- Use sculpting tools to create textures like stitched fabric or ghostly outlines
- Experiment with gradient lighting by varying wall thickness
- Combine multiple pumpkins to form a Halloween Town scene
- Seal carved pumpkins with petroleum jelly or spray to prolong freshness
Safety Precautions
Carving pumpkins can be fun, but safety is important, especially when using sharp tools. Always carve away from your body, supervise children, and use appropriate lighting methods to avoid fire hazards. Using LED lights instead of candles can minimize risk while still providing a glowing effect.
Safety Recommendations
- Keep knives and sharp tools out of children’s reach
- Use carving kits designed for pumpkin safety
- Work on a stable surface with good lighting
- Do not leave lit pumpkins unattended
Nightmare Before Christmas pumpkin carving is a creative and rewarding way to celebrate Halloween while paying homage to Tim Burton’s beloved film. From iconic characters like Jack Skellington and Sally to playful elements like Zero and Halloween Town silhouettes, these carvings allow fans to express their love for the movie through art. By selecting the right pumpkin, using appropriate tools, and following structured carving techniques, both beginners and experienced carvers can create stunning designs. Incorporating proper lighting, display ideas, and safety measures ensures that your carved pumpkins remain a highlight of Halloween festivities. Whether for personal enjoyment or to impress neighbors and guests, Nightmare Before Christmas pumpkin carving combines creativity, skill, and festive spirit into a memorable holiday tradition.