When it comes to amateur radio operations, achieving clear and precise audio quality is essential for effective communication. Many radio enthusiasts and operators find that adjusting the audio output of their Yaesu transceivers can make a significant difference in clarity, tone, and overall performance. One of the most powerful tools available for this purpose is the Yaesu parametric equalizer, a feature included in select models to allow detailed customization of sound frequencies. Understanding how to optimize these settings can enhance both transmitted and received audio, making conversations smoother, reducing distortion, and ensuring that signals are intelligible even in challenging conditions. Proper equalizer adjustments can also prevent listener fatigue during long operating sessions, which is a common issue among operators who rely on long-distance contacts.
Understanding the Yaesu Parametric Equalizer
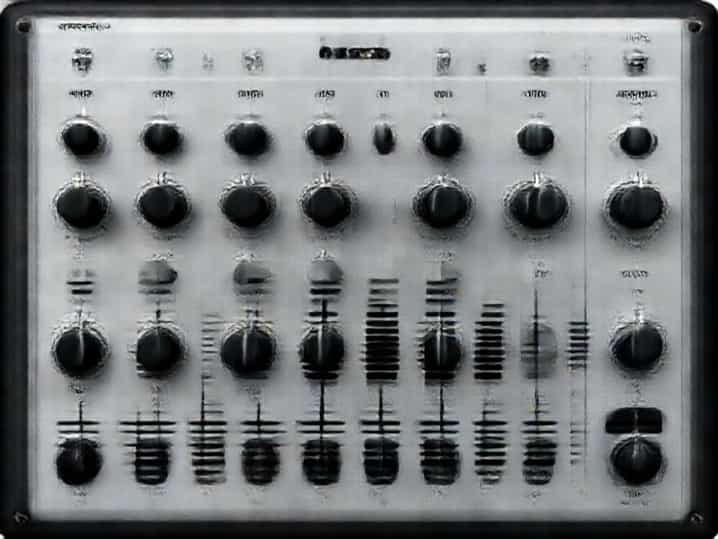
The parametric equalizer in Yaesu radios provides fine control over different frequency bands in your audio signal. Unlike a simple bass and treble adjustment, a parametric equalizer allows you to modify the amplitude and frequency of specific ranges of sound, giving you the ability to tailor your transmission to your voice characteristics and the operating environment. Typical controls include frequency selection, gain adjustment, and bandwidth (also known as Q factor). By precisely controlling these parameters, operators can enhance speech intelligibility, reduce harshness, and even compensate for microphone limitations.
Key Features of the Parametric Equalizer
- Frequency SelectionThis control allows you to choose which part of the audio spectrum you want to adjust. Lower frequencies affect the bass range, mid-range frequencies impact vocal clarity, and higher frequencies adjust treble.
- Gain AdjustmentGain controls the level of boost or cut applied to the selected frequency. A positive gain increases the amplitude of that frequency, while a negative gain reduces it.
- Bandwidth/Q FactorThis determines how wide or narrow the affected frequency range is. A narrow Q affects only a small slice of frequencies, allowing precise correction, whereas a wide Q affects a broader spectrum, which can smooth out overall tonal balance.
- Multiple BandsMany Yaesu radios include a multi-band parametric equalizer, typically ranging from two to five bands, enabling detailed shaping of your audio profile.
Setting Up Your Yaesu Parametric Equalizer
To achieve the best audio quality, operators should approach the parametric equalizer methodically. Start by understanding your microphone and your own voice characteristics. Different microphones have different frequency responses, and the equalizer can help compensate for deficiencies. Begin with all gain settings set to neutral and adjust one frequency band at a time. Use a reference audio or a test transmission to evaluate changes, listening to how each adjustment affects speech clarity, fullness, and intelligibility.
Step-by-Step Adjustment Tips
- Identify Problem FrequenciesSpeak into the microphone and listen carefully for areas where your voice may sound thin, harsh, or muffled. These are the frequencies to target.
- Adjust Mid-Range Frequencies FirstMost vocal clarity comes from the mid-range, typically between 500 Hz and 3 kHz. Boosting or cutting frequencies in this range has the most noticeable effect on speech intelligibility.
- Tweak Low FrequenciesAdjusting the lower range around 100-250 Hz can add warmth to your voice, but be careful not to create muddiness that reduces clarity.
- Fine-Tune High FrequenciesThe upper range, usually 4-10 kHz, affects sibilance and brightness. Increasing this range can make your voice more intelligible over long distances, but excessive boosting may sound harsh or sharp.
- Use Narrow Bandwidth for Precise ControlIf a specific frequency is problematic, set a narrow Q to target it without affecting adjacent frequencies.
- Test Your AdjustmentsConduct on-air tests or use a monitoring device to hear how your changes translate to actual transmission. Adjust iteratively until the desired sound is achieved.
Common Equalizer Settings for Different Scenarios
Different operating conditions may require different parametric equalizer settings. For example, casual local contacts often benefit from a warmer and fuller voice, while long-distance DX operations require maximum clarity. Noise conditions, such as static or interference, may also affect which frequency bands need adjustment. Understanding the role of each frequency range can help operators make effective changes without overcomplicating the setup.
Sample Settings for Voice Optimization
- Casual Local CommunicationSlight boost in low-mid frequencies (200-500 Hz) for warmth, moderate boost in mid frequencies (1-2 kHz) for clarity, slight reduction in high frequencies (6-8 kHz) to reduce harshness.
- DX or Weak Signal OperationModerate boost in mid-high frequencies (2-5 kHz) for maximum intelligibility, slight reduction in low frequencies (100-200 Hz) to prevent muddiness.
- High Noise EnvironmentsNarrow cuts in frequencies that overlap with persistent noise, boost mid-range to ensure voice cuts through interference, careful adjustment of highs to avoid hiss amplification.
Practical Tips for Maintaining Optimal Settings
Once your equalizer is properly adjusted, maintain a consistent setup for regular operation. Keep a log of your settings and review them periodically. Environmental factors such as room acoustics and microphone placement can influence audio performance, so minor adjustments may be necessary over time. Avoid extreme boosts or cuts, as these can introduce distortion or unnatural tonal qualities. Additionally, operators should periodically check their audio on other receivers to ensure the transmitted signal remains clear and pleasant to listeners.
Additional Considerations
- Consider the use of high-quality microphones to complement the equalizer settings. Even the best parametric adjustments cannot fully compensate for poor microphone performance.
- Use headphones or monitoring systems to accurately hear the changes you make, rather than relying solely on your own perception.
- Experiment with different settings in controlled conditions before going live on air. This helps avoid unintended audio problems during critical communication periods.
- Remember that subtle adjustments often yield better results than extreme changes. Incremental tweaking is more effective and easier to reverse if necessary.
The Yaesu parametric equalizer is a powerful tool that can significantly improve audio quality for amateur radio operators. By understanding the functions of frequency selection, gain, and bandwidth, operators can shape their audio to suit both personal voice characteristics and environmental conditions. Methodical adjustment, careful testing, and ongoing evaluation are key to achieving optimal results. Whether for casual local contacts, long-distance DX communication, or operating in high-noise environments, properly configured parametric equalizer settings can enhance speech clarity, reduce listener fatigue, and ensure that transmissions are professional and effective. By taking the time to learn and apply these settings, operators can maximize the potential of their Yaesu radios and enjoy a more satisfying and clear communication experience.
Ultimately, mastering the Yaesu parametric equalizer is about fine-tuning and experimentation. Each operator’s voice is unique, and each operating environment presents its own challenges. With patience and attention to detail, the parametric equalizer can become an essential tool for any serious amateur radio enthusiast seeking top-notch audio quality.